
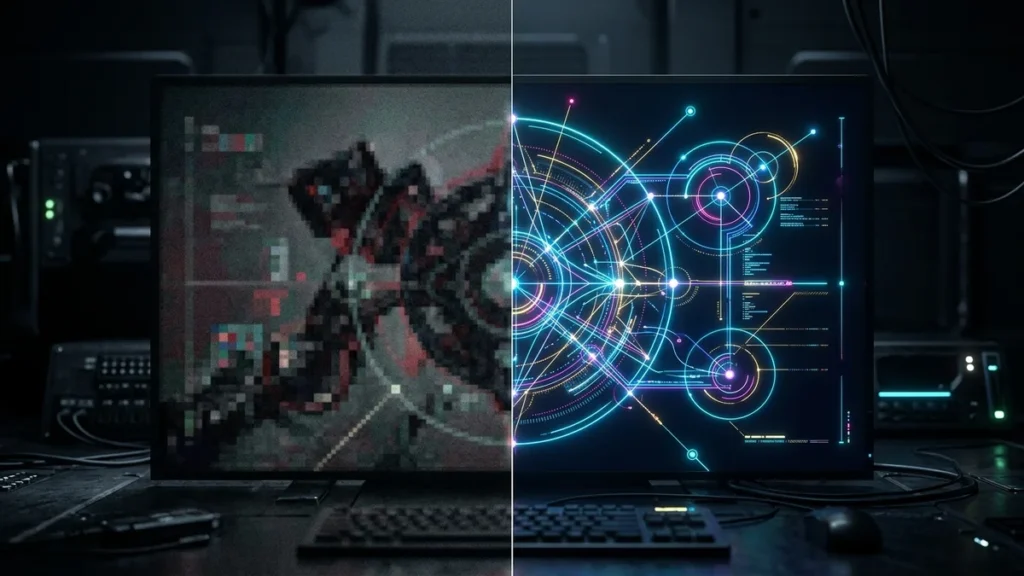
You uploaded a perfectly crisp logo to your website, but when you look at it on your iPhone or a modern MacBook, it looks fuzzy, blurry, or pixelated. This is a massive conversion killer and makes your brand look unprofessional. But why does it happen?
The Retina Display Problem
The issue lies in modern screen technology. Smartphones and high-end laptops use «Retina» or high-DPI (dots per inch) displays. These screens pack twice or three times as many physical pixels into the same physical space to make text look sharper.
If you upload a 200×100 pixel JPG logo, a Retina screen will try to stretch those 200 pixels across 400 or 600 physical pixels. The browser attempts to guess what the missing pixels should look like (a process called interpolation), which results in a blurry, soft image.
The Fix: Ditch Raster, Use Vector (SVG)
You could fix this by uploading a massive PNG file (like 1000×500 pixels) and scaling it down with CSS, but that slows down your website loading speed. The correct, modern way to fix this is by converting your logo to an SVG.
Because SVGs are math-based, a Retina display simply recalculates the math for its specific pixel density. The result? A logo that is mathematically perfectly sharp on a cheap 1080p monitor, a 4K iPhone, and an 8K television, all while keeping the file size incredibly small.
FAQ
Can I just use a high-res PNG instead of an SVG?
You can, but it’s bad for SEO. High-res PNGs have massive file sizes, which will slow down your page load speed. SVGs are tiny text files that load instantly.
Why doesn’t WordPress let me upload SVGs by default?
WordPress restricts SVGs by default for security reasons (since SVGs are XML files that can contain scripts). You can enable them safely using a plugin or custom code.
How do I turn my blurry PNG into an SVG?
Use a local JPG/PNG to SVG converter. It will trace the edges of your logo and generate a clean, scalable vector file that will look perfect on any screen.